11. Software Development Tools
11.1. SmartSnippets™ Introduction
Dialog SmartSnippets™ Studio is a royalty-free software development platform for Smartbond™ devices. It fully supports the DA1468x family of devices.
SmartSnippets™ Studio contains:
- SmartSnippets™ IDE: Eclipse CDT based IDE with pre-configured plugins to provide the build/debug environment
- SmartSnippets™ DA1468x SDK
- SmartSnippets™ Toolbox: A tool suite covering all software development requirements, including:
- Programming and loading of firmware into SRAM, OTP and Flash
- Power profiling
- SmartSnippets™ Documentation
The SmartSnippets™ IDE is enabled by an on-board J-Link debugger from SEGGER. This offers standard debug capabilities such as single stepping, setting breakpoints, software download and many more. For more details on the debugger capabilities, visit https://www.segger.com/ .
11.2. Installation
The installation procedure for SmartSnippets™ Studio is described in detail in [Ref_02]. A summary of the steps is given here. Download the Windows or Linux version of SmartSnippets™ Studio from the Software and Tools section of the DA14681 Product Dialog Support Website: https://support.dialog-semiconductor.com/connectivity/product/da14681
11.2.1. Windows
SmartSnippets™ Studio installer (.msi). Several of the required tools will automatically install and others need to be manually downloaded and installed.
- Install the recommended version of SEGGER J-Link GDB server.
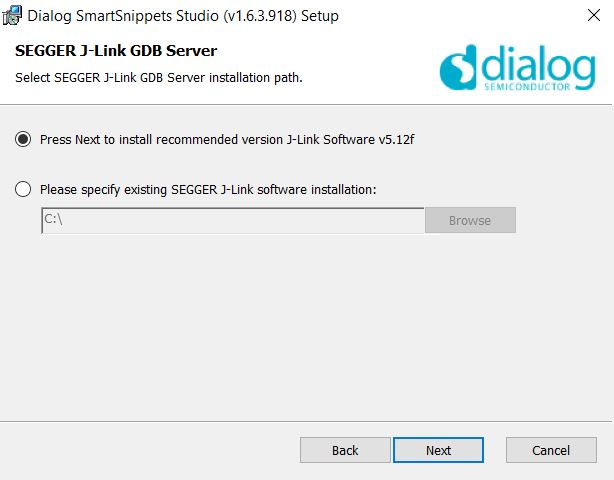
Figure 11 Automatically install J-Link
- Select the destination folder for the SmartSnippetsTM Studio.

Figure 12 Select Smart Snippets Studio install directory
- The installer will then check if the other required SEGGER tools are installed. On a clean PC they will probably not be there and so the next steps are to download, install and point SmartSnippets to them

Figure 13 Tools that require manual installation
- Tick the download and install radio button and then press Download button for SEGGER Ozone tool

Figure 14 Start Ozone download
- The download will fail and so click on the link to manually download Ozone
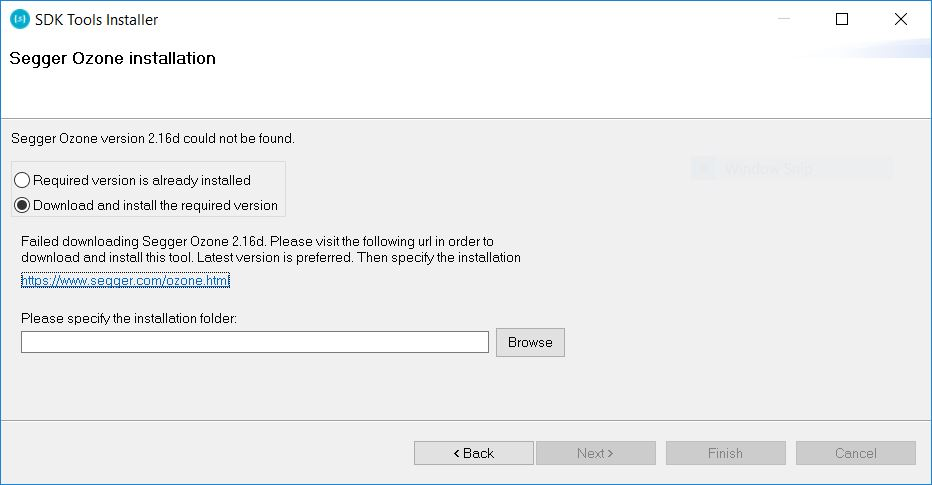
Figure 15 Automatic Ozone download failed
- Using a browser download the latest version from https://www.segger.com/downloads/jlink/#Ozone which at the point of writing was 2.52a and run the installer.
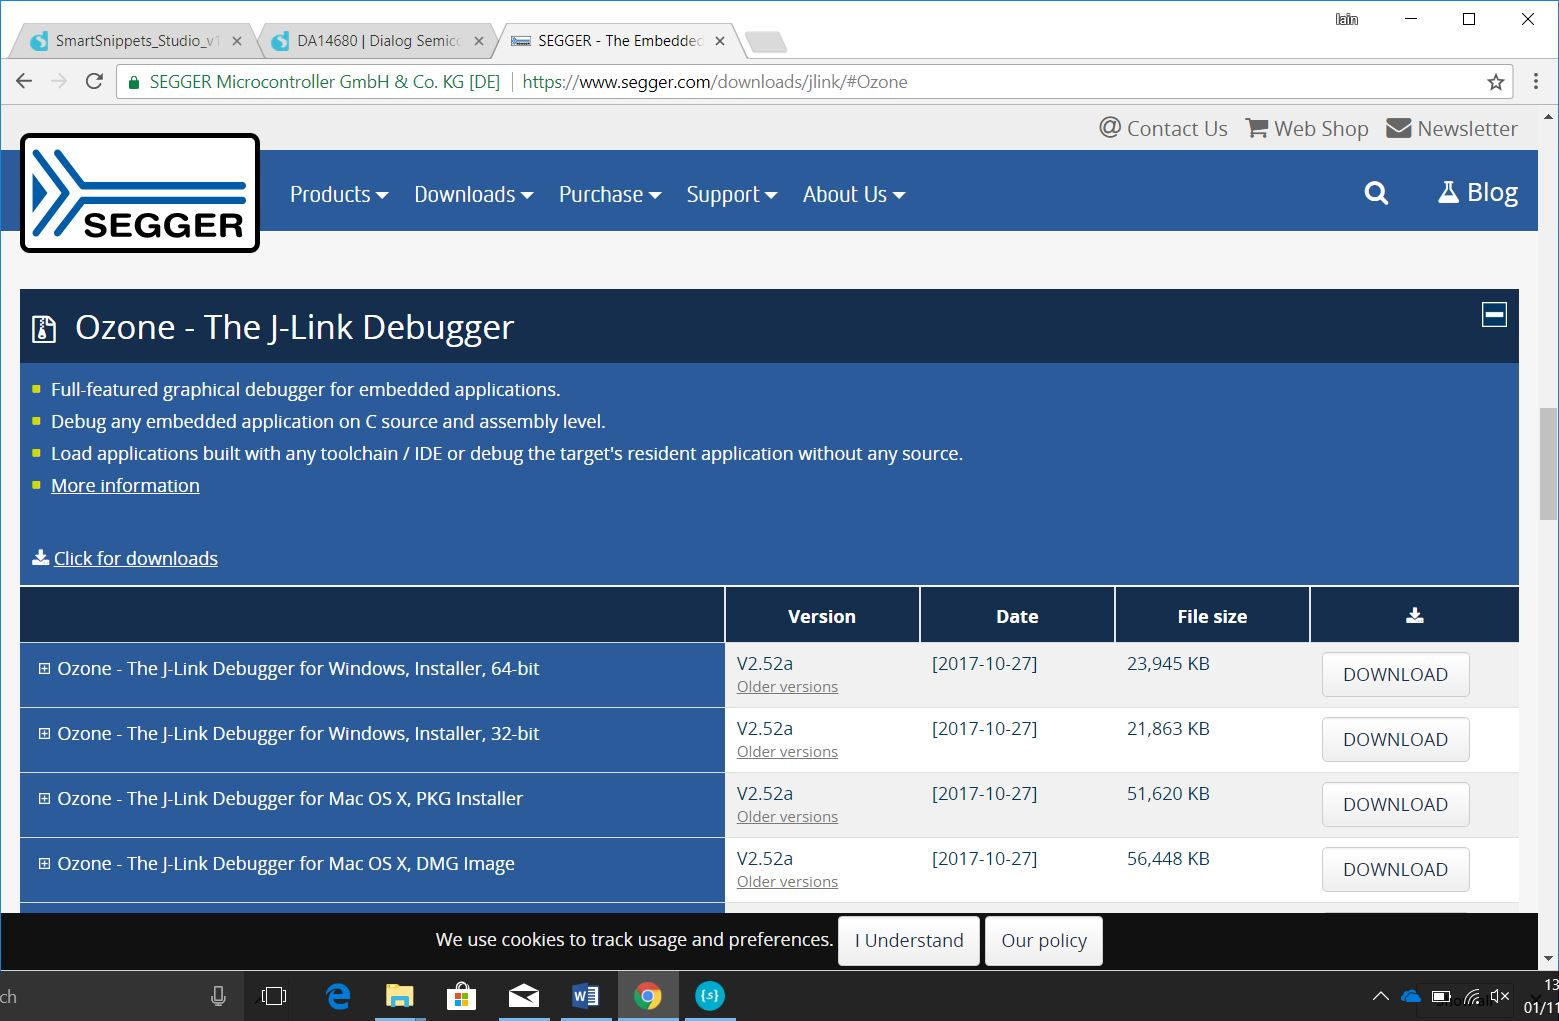
Figure 16 SEGGER Ozone download page
- This will install the tool to
C:\Program Files\SEGGER\Ozone v2.52a. Use the Browse button to find this folder and then press Next.
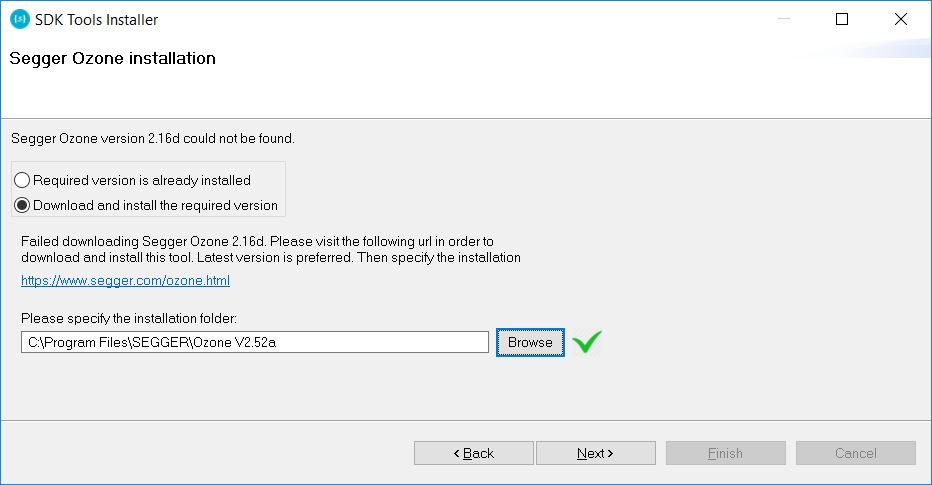
Figure 17 Set Ozone installation directory
- The next stage is to set the J-Link installation directory. This
software is installed as part of Ozone install and so it is only
necessary to set the directory which should be
C:\Program Files
(x86)\SEGGER\JLink_V512f
.
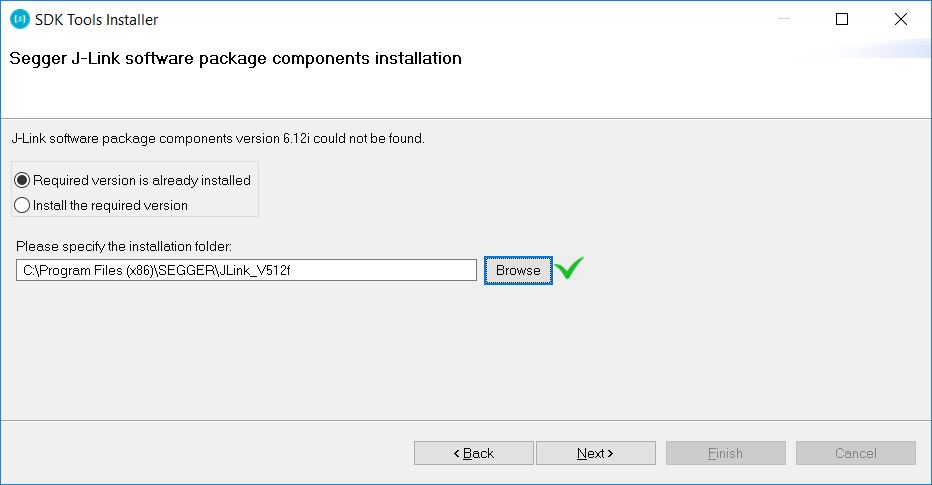
Figure 18 Set J-Link installation directory
- The final stage is to install SEGGER SystemView. The automatic download will fail so it must be done manually
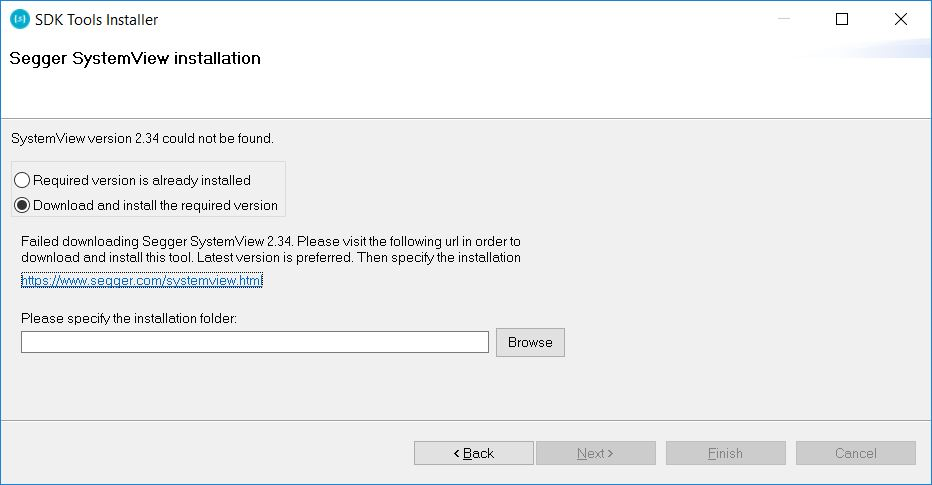
Figure 19 SystemView Download fails
- Using a browser download the latest SystemView installer from
https://www.segger.com/downloads/jlink/#SystemView. The latest version at the time of writing was v2.52a.
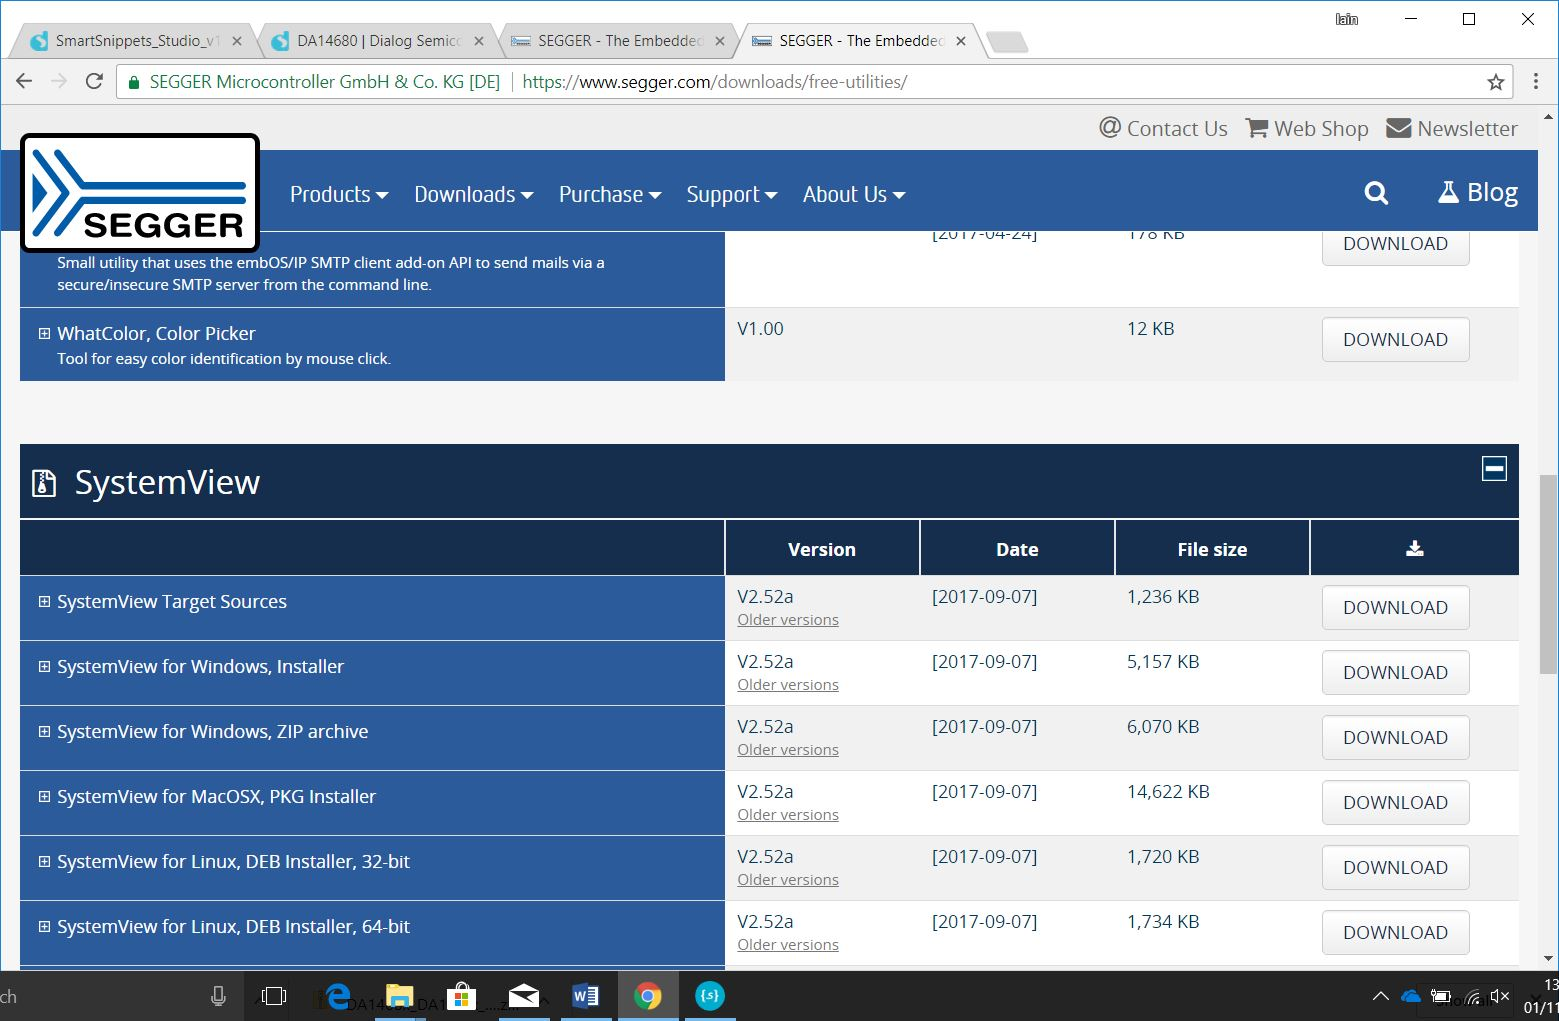
Figure 20 Download SystemView installer
- Run the installer which will install SystemView to
C:\Program Files
(x86)\SEGGER\SystemView_V252a
. Use Browse button to set this directory and then press Finish.
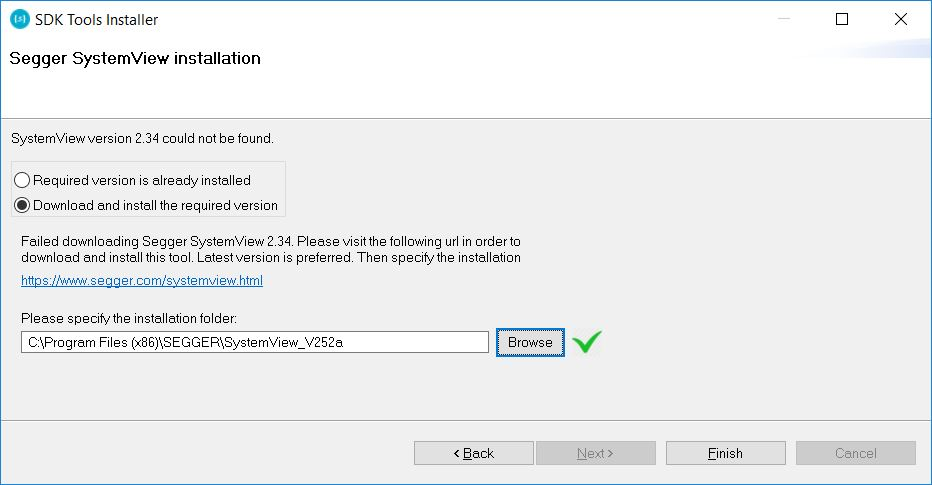
Figure 21 Set SystemView installation directory
- SmartSnippets™ Studio is now installed.
11.2.2. Linux
Before running the installer, it is necessary to install some Linux packages that are mandatory for the execution of SmartSnippets™ Studio. Without them SmartSnippets™ Studio will not run correctly but will fail with no reported error. More details are available in [Ref_02].
For CentOS 7:
sudo yum install install epel-releasesudo yum install webkitgtk.x86_64sudo yum install glibc.i686 ncurses-libs.i686sudo yum install qt-x11(required for SystemView tool)For Fedora 25:
sudo yum install webkitgtk.x86_64sudo yum install glibc.i686 ncurses-libs.i686sudo yum install gcc-c++sudo yum install libncurses.so.5For Ubuntu 16.04.1 install:
sudo apt-get install libz1:i386 libncurses5:i386 libbz2-1.0:i386sudo apt-get install libwebkitgtk-1.0-0 libwebkitgtk-3.0-0sudo apt-get install gawkThe first step is to make the SmartSnippets™ Studio installer executable.
$chmod a+x SmartSnippets_Studio-linux.gtk.x86_64-1.6.3.runAnd then run it.
$./SmartSnippets_Studio-linux.gtk.x86_64-1.6.3.runSeveral of the required tools will automatically install and others need to be manually downloaded and installed.
Install the recommended version of SEGGER J-Link GDB server.

Figure 22 Automatically install the J-Link
- Select the destination folder for the SmartSnippets™ Studio.
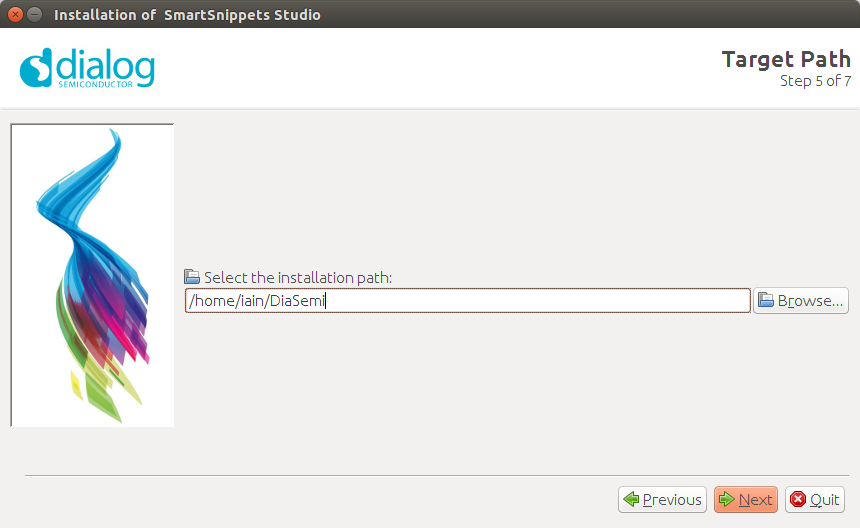
Figure 23 Select SmartSnippets™ Studio install directory
- The installer will then check if other SEGGER tools it needs are installed. On a clean PC they will probably not be there and so the next steps are to download, install and point SmartSnippets™ to them
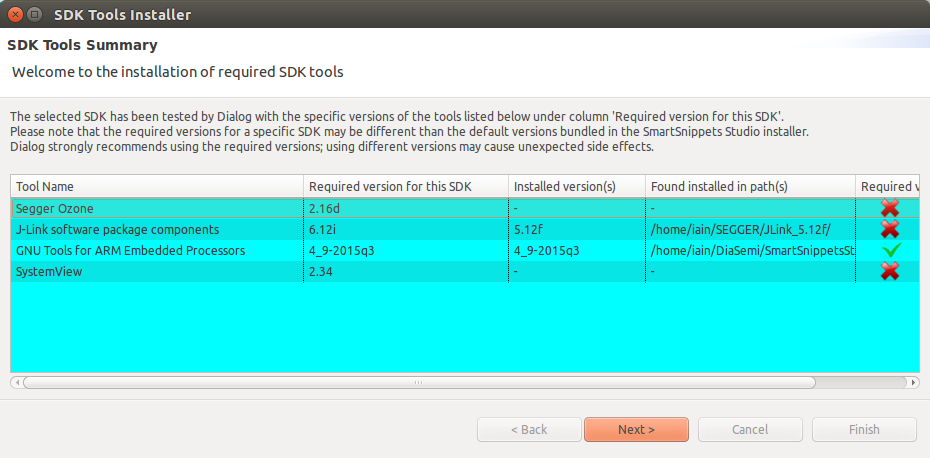
Figure 24 Tools that need manual installation
- Tick the download and install radio button and then press Download button for SEGGER Ozone tool
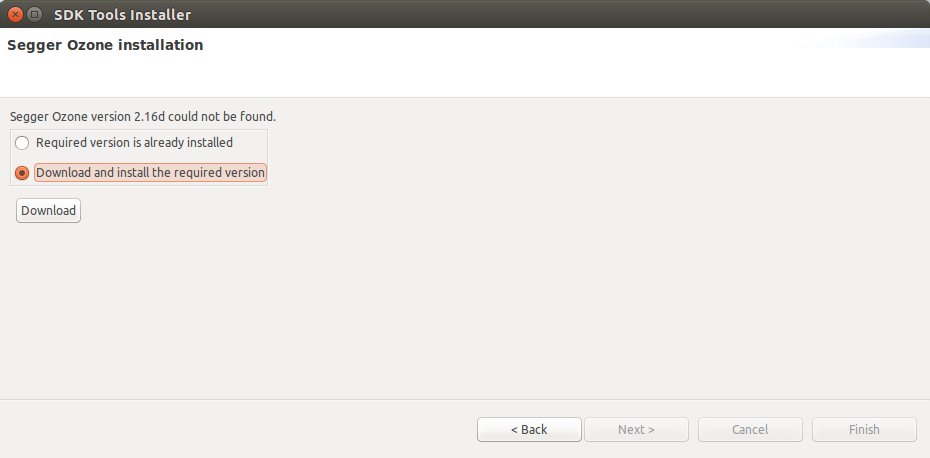
Figure 25 Start the Ozone download
- The download will fail and so click on the link to manually download Ozone
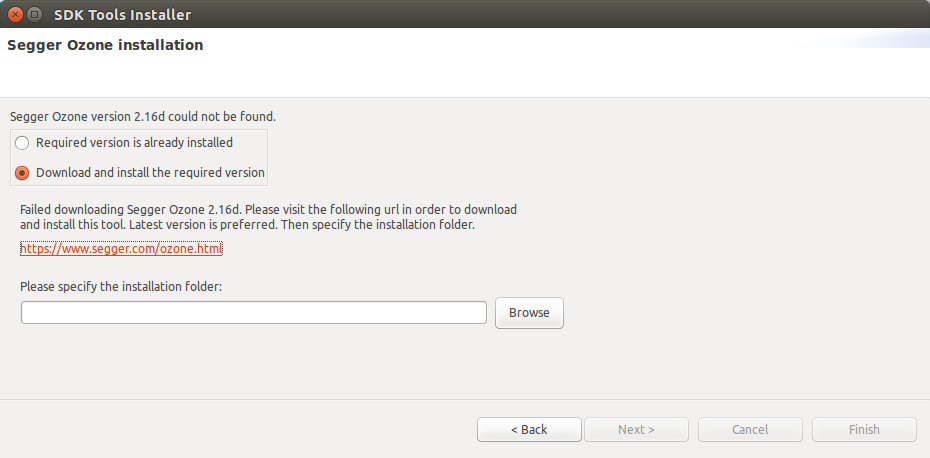
Figure 26 Automatic Ozone download fails
- Using a browser download the latest version of the appropriate package for the Linux distribution in use from https://www.segger.com/downloads/jlink/#Ozone
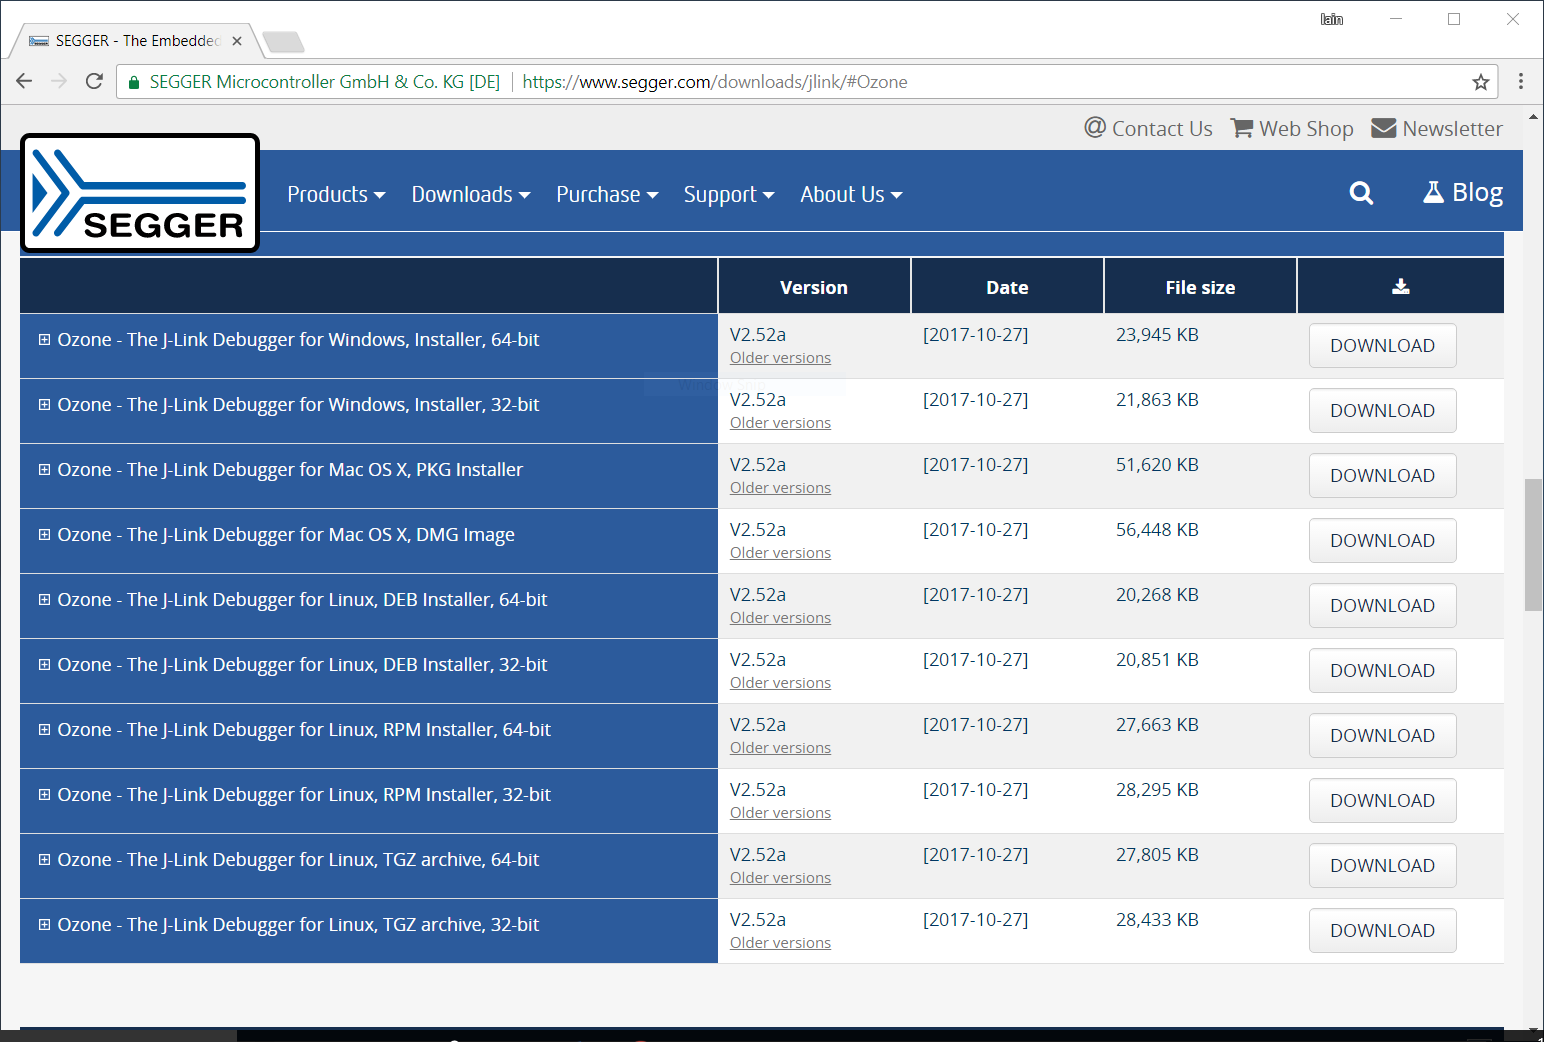
Figure 27 The SEGGER Ozone download page
For an Ubuntu 16.04 installation install the .deb package as follows:
~/Downloads$ sudo apt install ./ozone_2.52.1_x86_64.debThis will install the tool to
/opt/SEGGER/ozone/2.52.1. Use the Browse button to find this folder and then press Next.
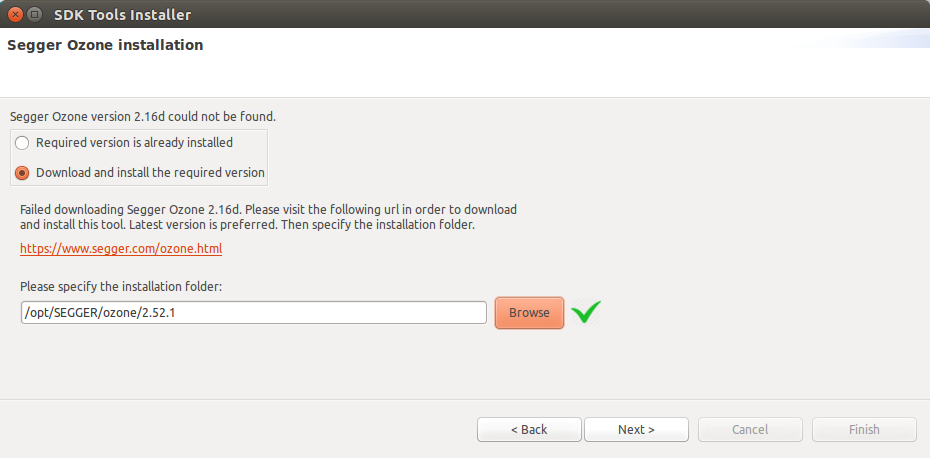
Figure 28 Set the Ozone installation directory
- The next stage is to set the J-Link installation directory. This software is installed as part of Ozone install and so it is only necessary select Install the required version and press Install.

Figure 29 Set the J-Link installation directory
- The final stage is to install SEGGER SystemView. The automatic download will fail so it must be done manually
- Using a browser download the appropriate Linux package for latest SystemView installer from https://www.segger.com/downloads/jlink/#SystemView. The latest version at the time of writing was v2.52a.
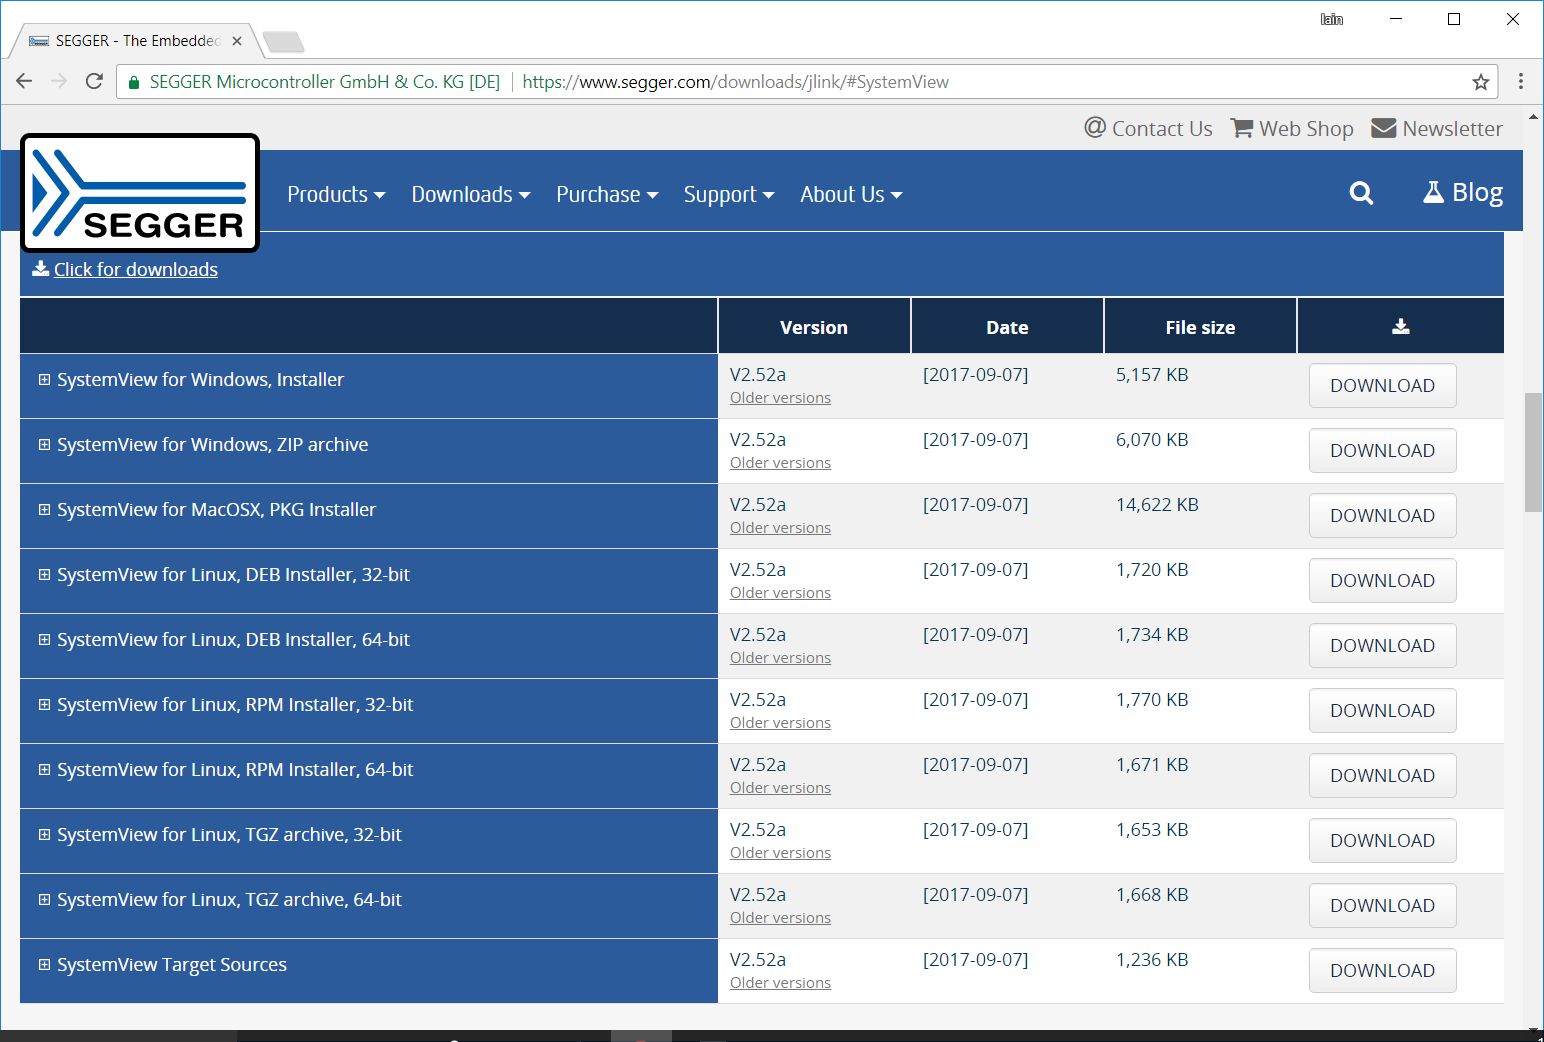
Figure 30 Download the SystemView installer
For an Ubuntu 16.04 installation install the .deb package as follows.
~/Downloads$ sudo apt install ./systemview_2.52.1_x86_64.debThis will install the tool to /opt/SEGGER/SystemView. Use the Browse button to find this folder and then press Finish.
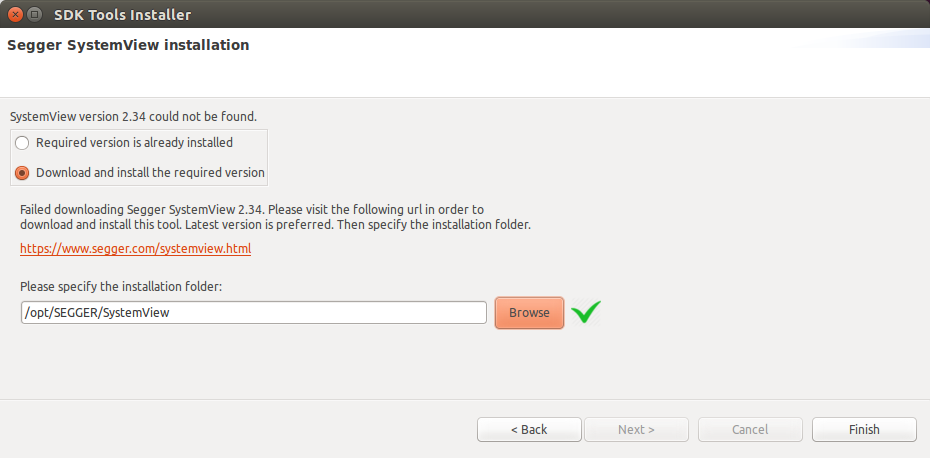
Figure 31 J-Link installation directory
- SmartSnippets™ Studio is now installed.
11.3. Extracting and using the SDK
As SmartSnippets™ Studio is an Eclipse based Integrated Development Environment (IDE) all the source files are contained within a workspace folder which contains all the project sources, build configurations etc.
The SmartSnippets™ SDK has been developed in a way that means that the workspace directory and the SDK installation directory are the same. The configuration process for the SDK is easier if the SDK has already been installed to the workspace folder.
In the user directory (Windows or Linux) create a directory called
workspace_SmartSnippets_Studio.
Download the SmartSnippets™ SDK from Software Development Kit section of Software and Tools tab on the product page https://support.dialog-semiconductor.com/connectivity/product/da14680.
Extract the contents of the SDK zip file to the workspace folder. The
workspace must not contain the SDK directory (i.e.
DA1468x_DA15xxx_SDK_1.0.10.1072) otherwise the projects will not build.
It must contain the contents of the directory as shown in Figure 32.
This shows a Windows filesystem, the principle is the same for a Linux
filesystem.
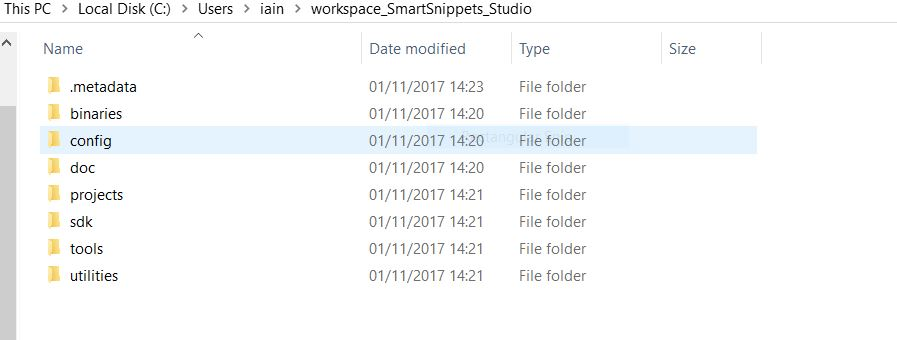
Figure 32 Extract SDK to Workspace (on Windows)
As the workspace is the same directory as the SDK it means that all edits to files in the workspace change the contents of the SDK. This means that all projects should be developed in different workspaces and so each workspace needs to be created with an extraction from the original SDK zip file as there is no longer a clean copy of the SDK on which to base new projects.
11.4. Starting SmartSnippetsTM Studio
When SmartSnippets™ Studio starts for the first time, the user must configure it. The necessary configurations are the following:
- Select the workspace folder for SmartSnippets™ Studio. This should
be the created directory
workspace_SmartSnippets_Studio. - If asked specify which product family SmartSnippetsTM Studio should assume the code is for (DA1468x 1.0.12 SDK or DA1458x 6.0.6 SDK).
- All the other tools required by the SDK and SmartSnippets™ Studio will be automatically installed, such as GNU ARM GCC, SmartSnippets Toolbox, SEGGER drivers etc.
11.5. Additional Software
SmartSnippetsTM Toolbox is installed with SmartSnippets™ Studio. It is focused on enabling the process of programming flash and optimizing code for optimal power performance by allowing:
- The re-programming of the internal QSPI with the actual application compiled image.
- An accurate examination of the power profile and the effects of any executed application software.
- The seamless download and execution of a certain software image to RAM over UART.
SmartSnippets™ Toolbox is also supported by other utilities such as the Command Line Interface (CLI) Programmer. The CLI Programmer is a command line tool for programming the DA1468x family of devices. It allows erasing and programming the device Flash or OTP memory. This tool may be used both in development and on the production line. The CLI Programmer will be installed as an integrated part of the SmartSnippets™ DA1468x SDK. More details about CLI programmer are available in Appendix C in [Ref_04].
The SmartSnippetsTM framework makes maximum use of the available features on the motherboard like the on board current sensing circuitry to allow developers of Bluetooth applications to work without expensive and bulky equipment such as a Digital Multi Meter (DMM). The tool provides full visibility on the chip activity, which is crucial in the developing of ultra-low power wireless applications.