2. Getting started
2.1. How to use CodeLess
CodeLess development allows you to quickly start with wireless IoT application using set of AT commands. These AT commands will allow control over the local device as well as remote device, allowing you to easily integrate in a 3rd party microcontroller.
You can use a simple control from Terminal and NO IDE required!
Fig. 6 No IDE required
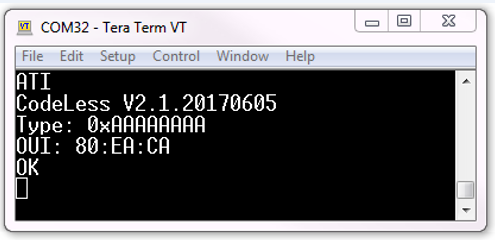
Fig. 7 CodeLess using Terminal
2.2. Hardware Setup
The general setup to implement the codeless examples are as follows. The tutorial makes use of the Pro-Kit to show the examples however you can use the basic kit as well.
Setup :
- Connect the 3-way jumper that is needed to enable concurrent access to SPI-Flash and UART interface
- Connect the Pro-kit via USB cable to your PC as shown in the figure
- 3 LEDs will lit up, namely, D1, D4 and D6
- For the LED example, when using Pro-kit the LED D3 toggles and for Basic kit LED D7 toggles
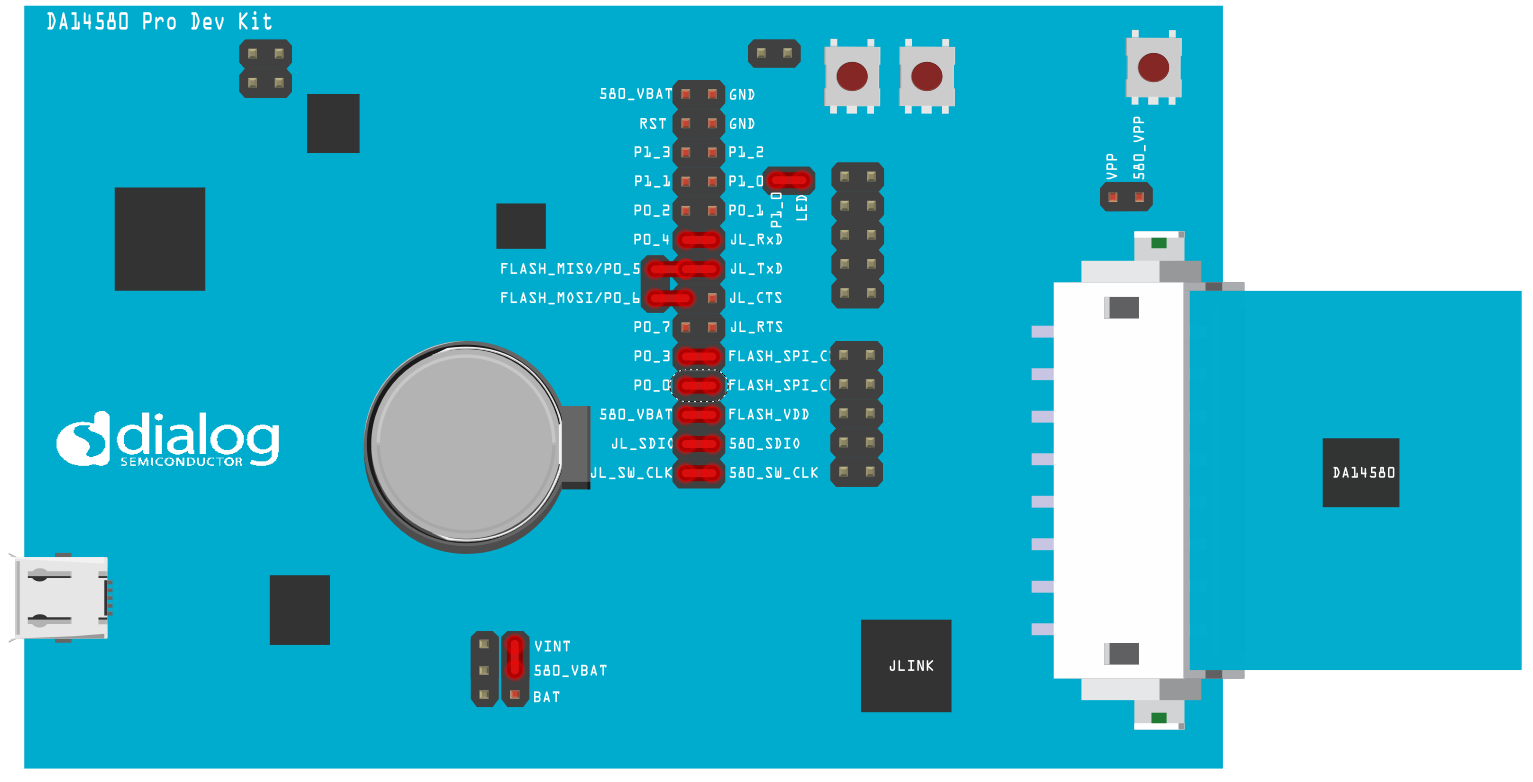
Fig. 8 Setup on Pro-Kit
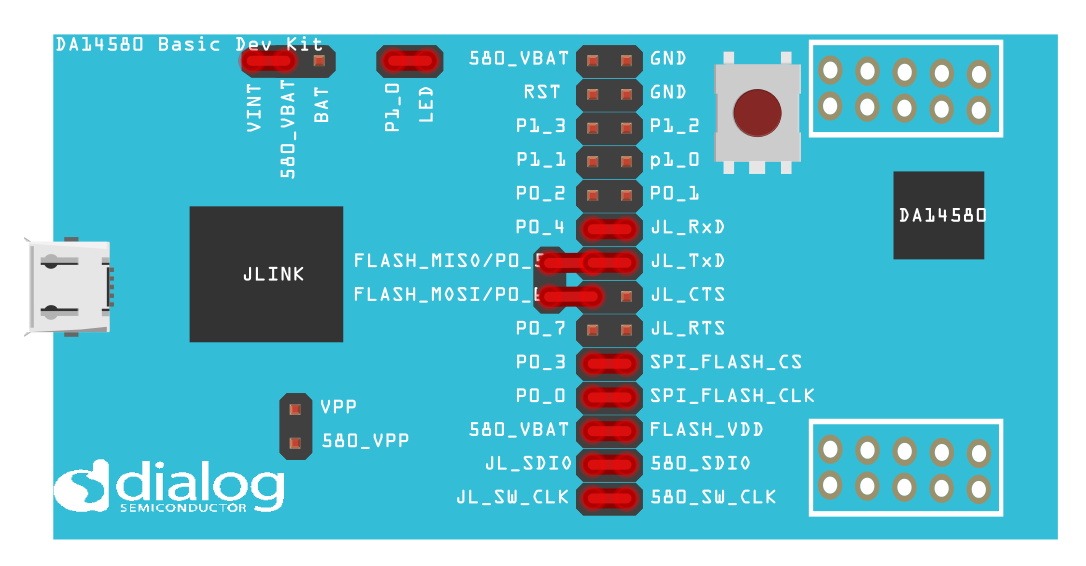
Fig. 9 Setup on Basic-Kit
Note
The red blocks indicate where the jumpers are supposed to be placed.
2.3. Software Setup
Find your COM port number:
- Right-click on ‘Computer’ -> Properties -> Device Manager
- You will find two COM ports for the device and you need to select the COM port with lowest number. In case of Basic kit, only 1 COM port will be shown As you can see in the figure 8, we chose COM 31 in this case.

Fig. 10 COM port
Load CodeLess firmware into DA1458x using SmartSnippets™ Toolbox booter from the Smart Snippets Studio.
Open SmartSnippets Studio that you have already downloaded
Start SmartSnippets™ Toolbox and create new project.
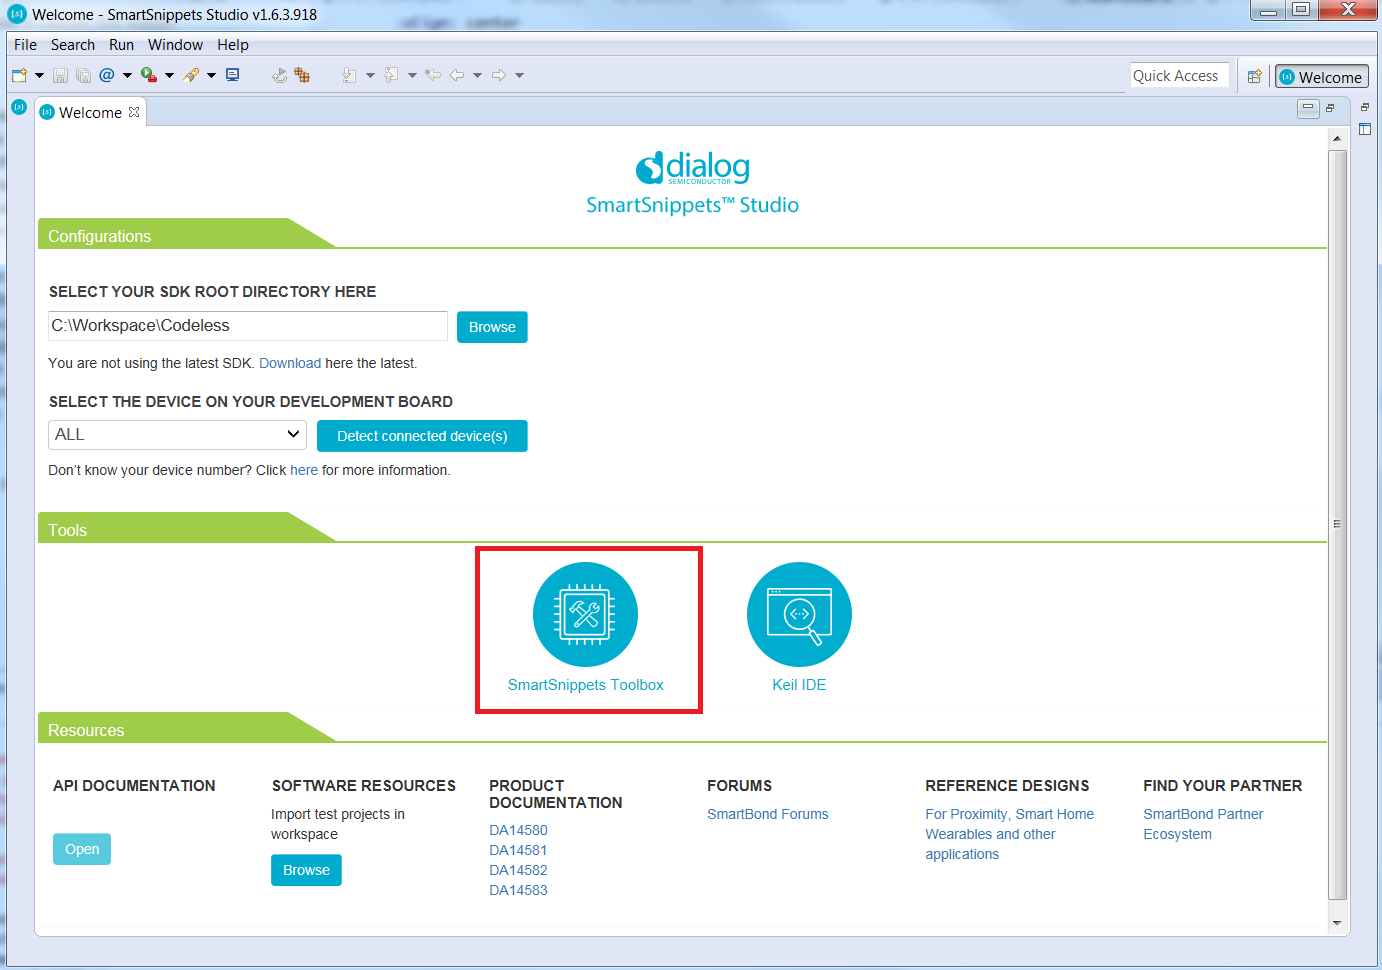
Fig. 11 Smart Snippets Studio
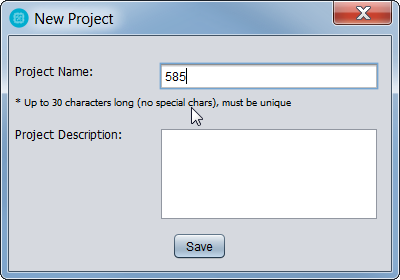
Fig. 12 Create new project
Select project, COM port and target, and click open
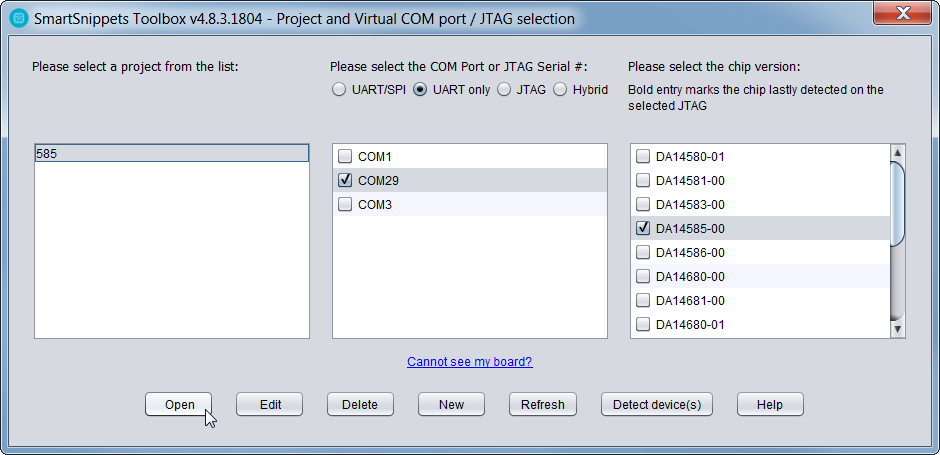
Fig. 13 Open project
From tools, select booter. Browse for your hex file and click download
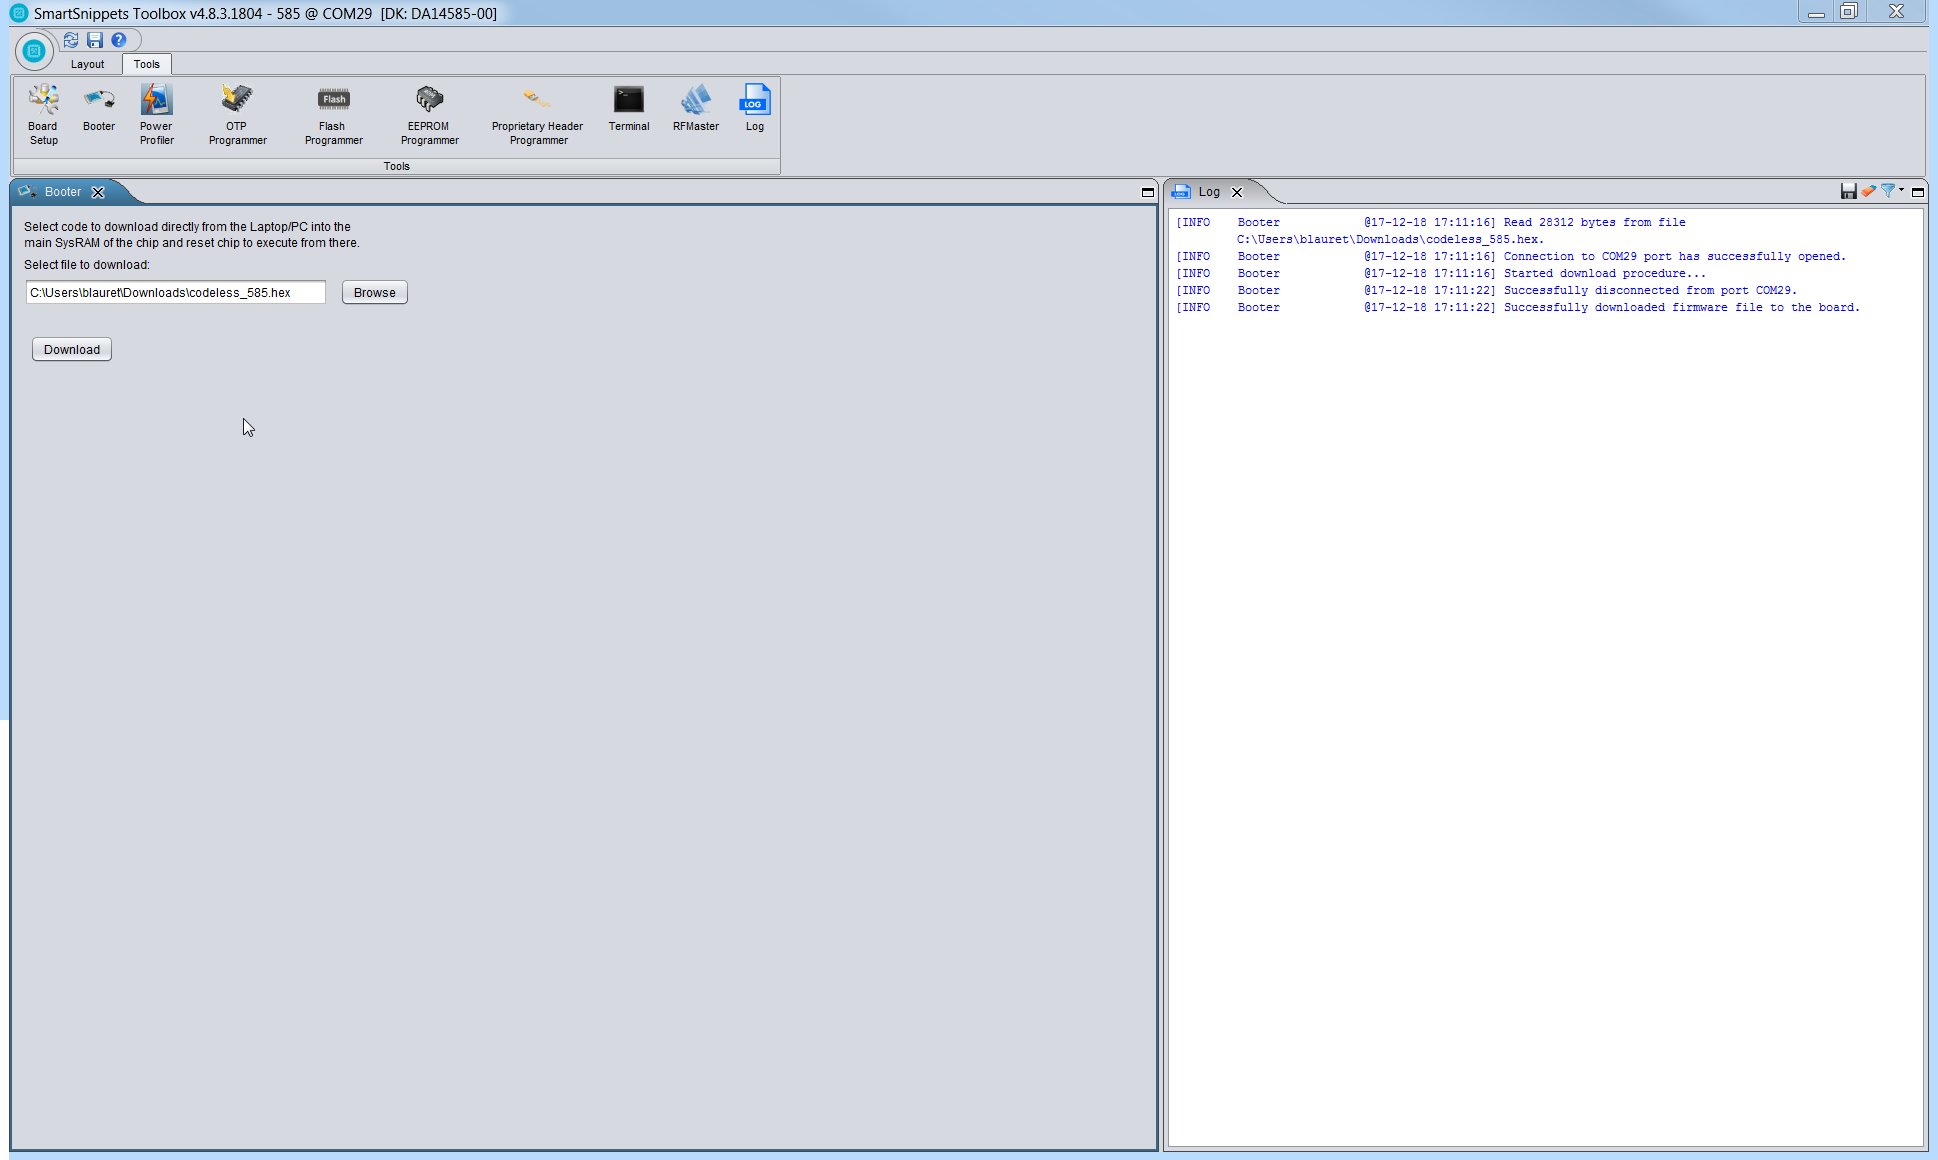
Fig. 14 Open project
- To send AT commands, use the terminal to communicate with the board with the following settings. Also you can refer the figure 9.
- PORT : <COM_Port>
- BaudRate : 57600
- DataBits : 8
- StopBits : 1
- Parity : None
- Flow Control : None
- Transmit Text: Append CR
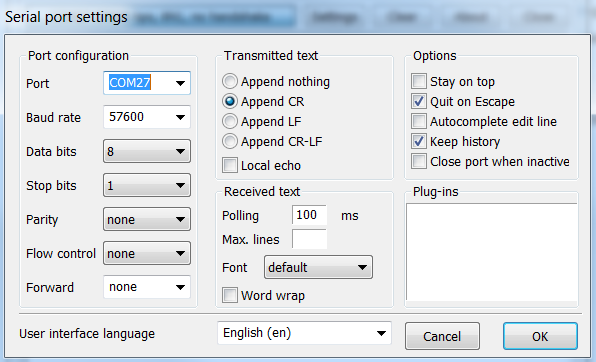
Fig. 15 Serial Port Settings
- Send your first AT command
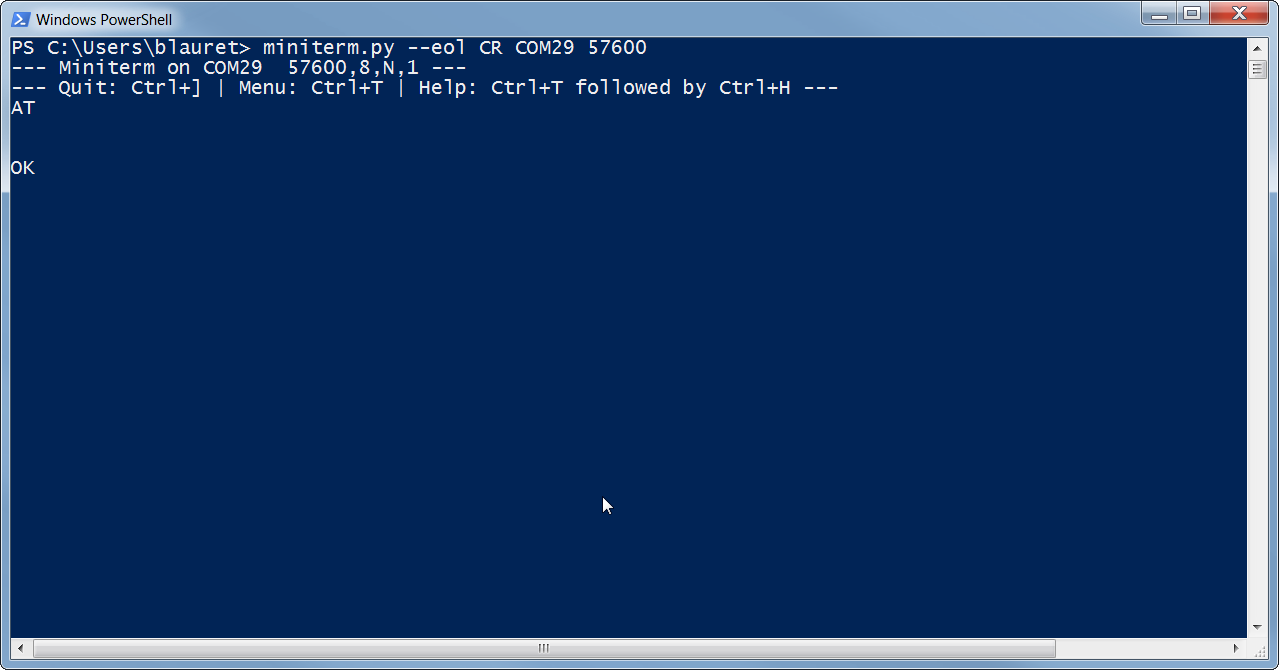
Fig. 16 Open project
Note
When the DA1458x powers up, it will stay awake for ten seconds and then go to extended sleep. If a character is received via UART within the 10 second window, the device will stay awake until it receives a sleep command (AT+SLEEP=1). Send a ‘@’ via the UART to wake up a sleeping device.