Images of New Zealand
(Full versions of these images can be downloaded by clicking the thumbnails)
collected on Josh's trip in 1998
Volume 3 � Nelson to Wellington
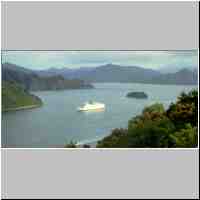
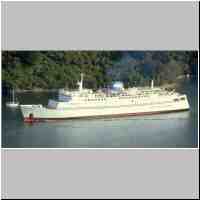
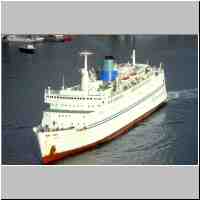
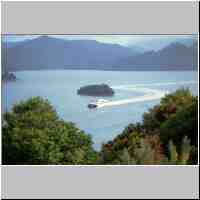
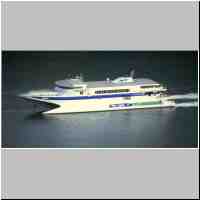
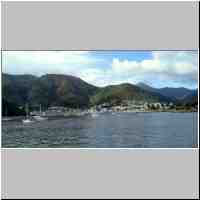
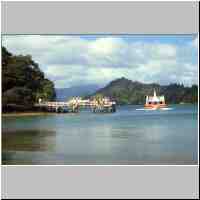
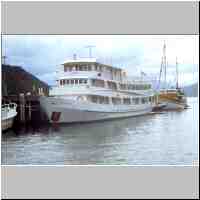
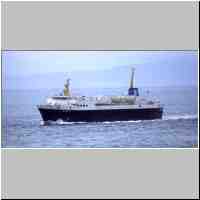
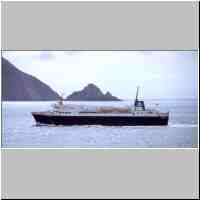
Nelson and the Boulder BankPicton and it's Ferries
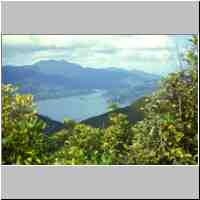
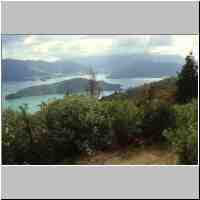
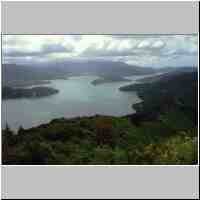
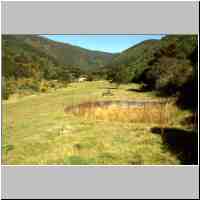
Queen Charlotte Walkway
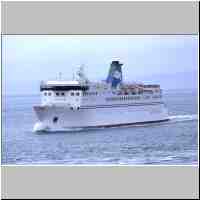
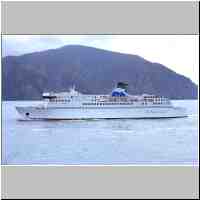
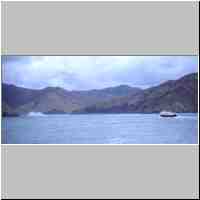
Crossing the Cook Strait
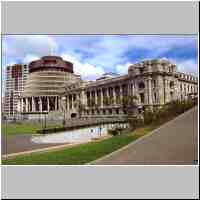
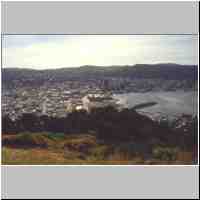
Wellington
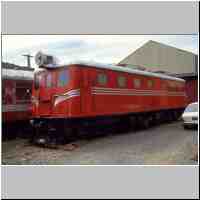
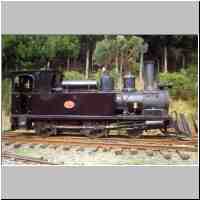
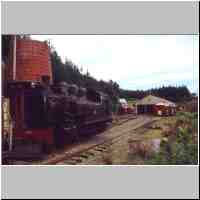
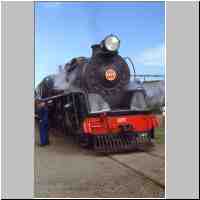
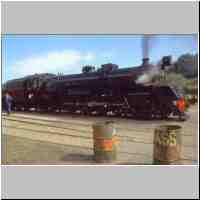
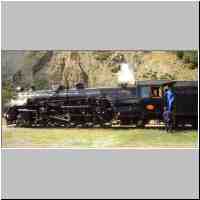
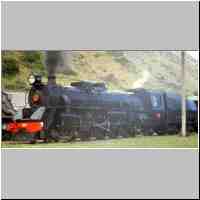
Silverstream Railway Museum
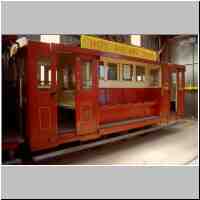
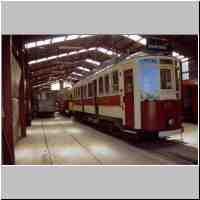
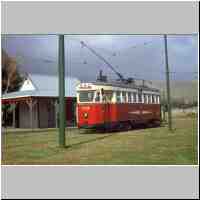
Wellington Tram Museum
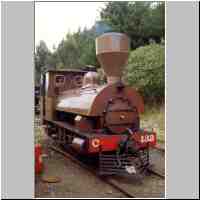
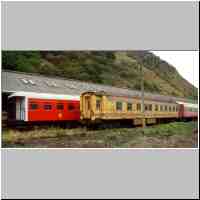
The Engine Shed, Paekakariki
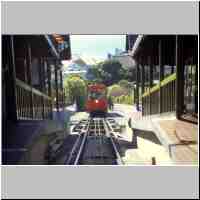
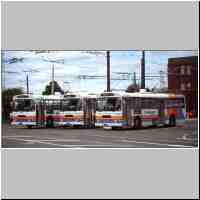
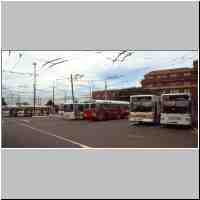
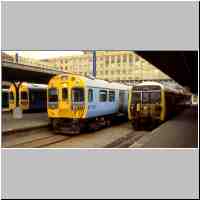
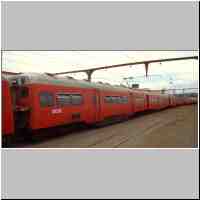
Wellington Urban Transport
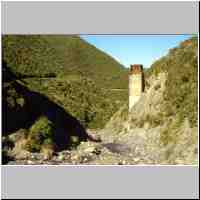
The Rimutaka Incline
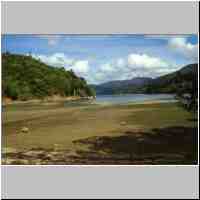
Part 22 � Nelson and the Boulder Bank
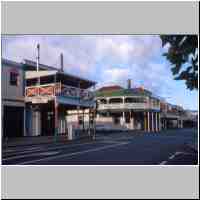 Wakatu Hotel |
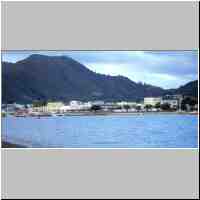
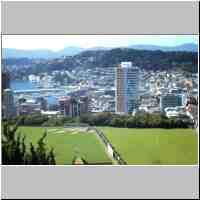
 Nelson |
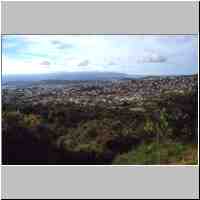
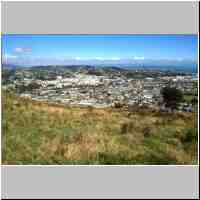
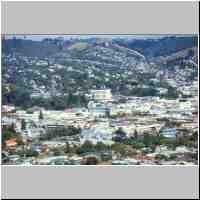 Nelson town centre |
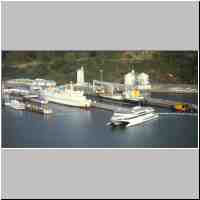
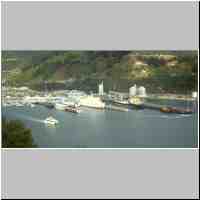
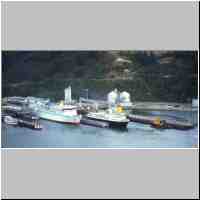
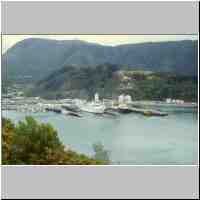
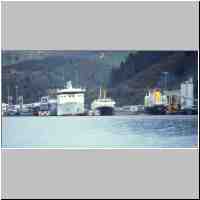
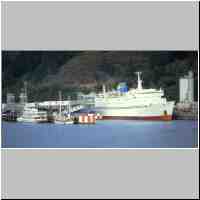
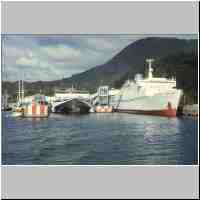
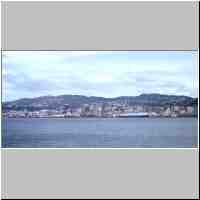
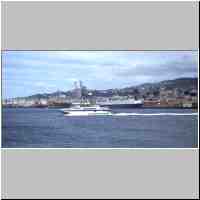
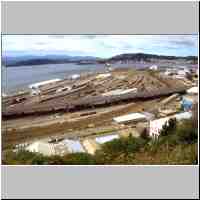
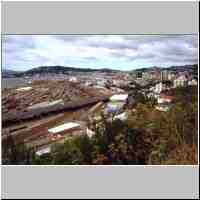
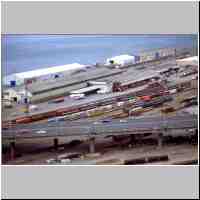
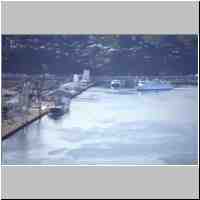
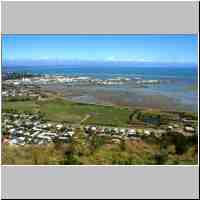 Port of Nelson |
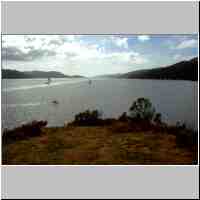
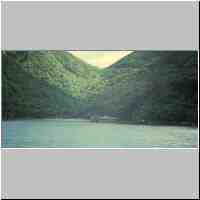
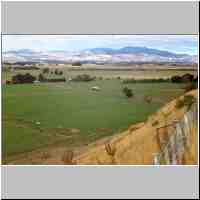
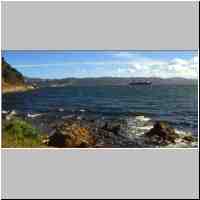
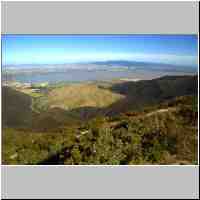
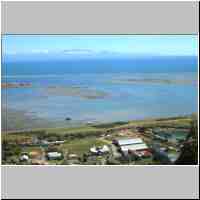 Boulder Bank & Tasman Bay |
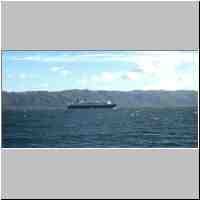
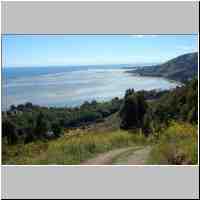 north end of the Boulder Bank |